Solar Air Heater Assembly and Installation Guide for DIYers
Assembly/ Installation Procedures:
1. Drill a hole for pipe going through.
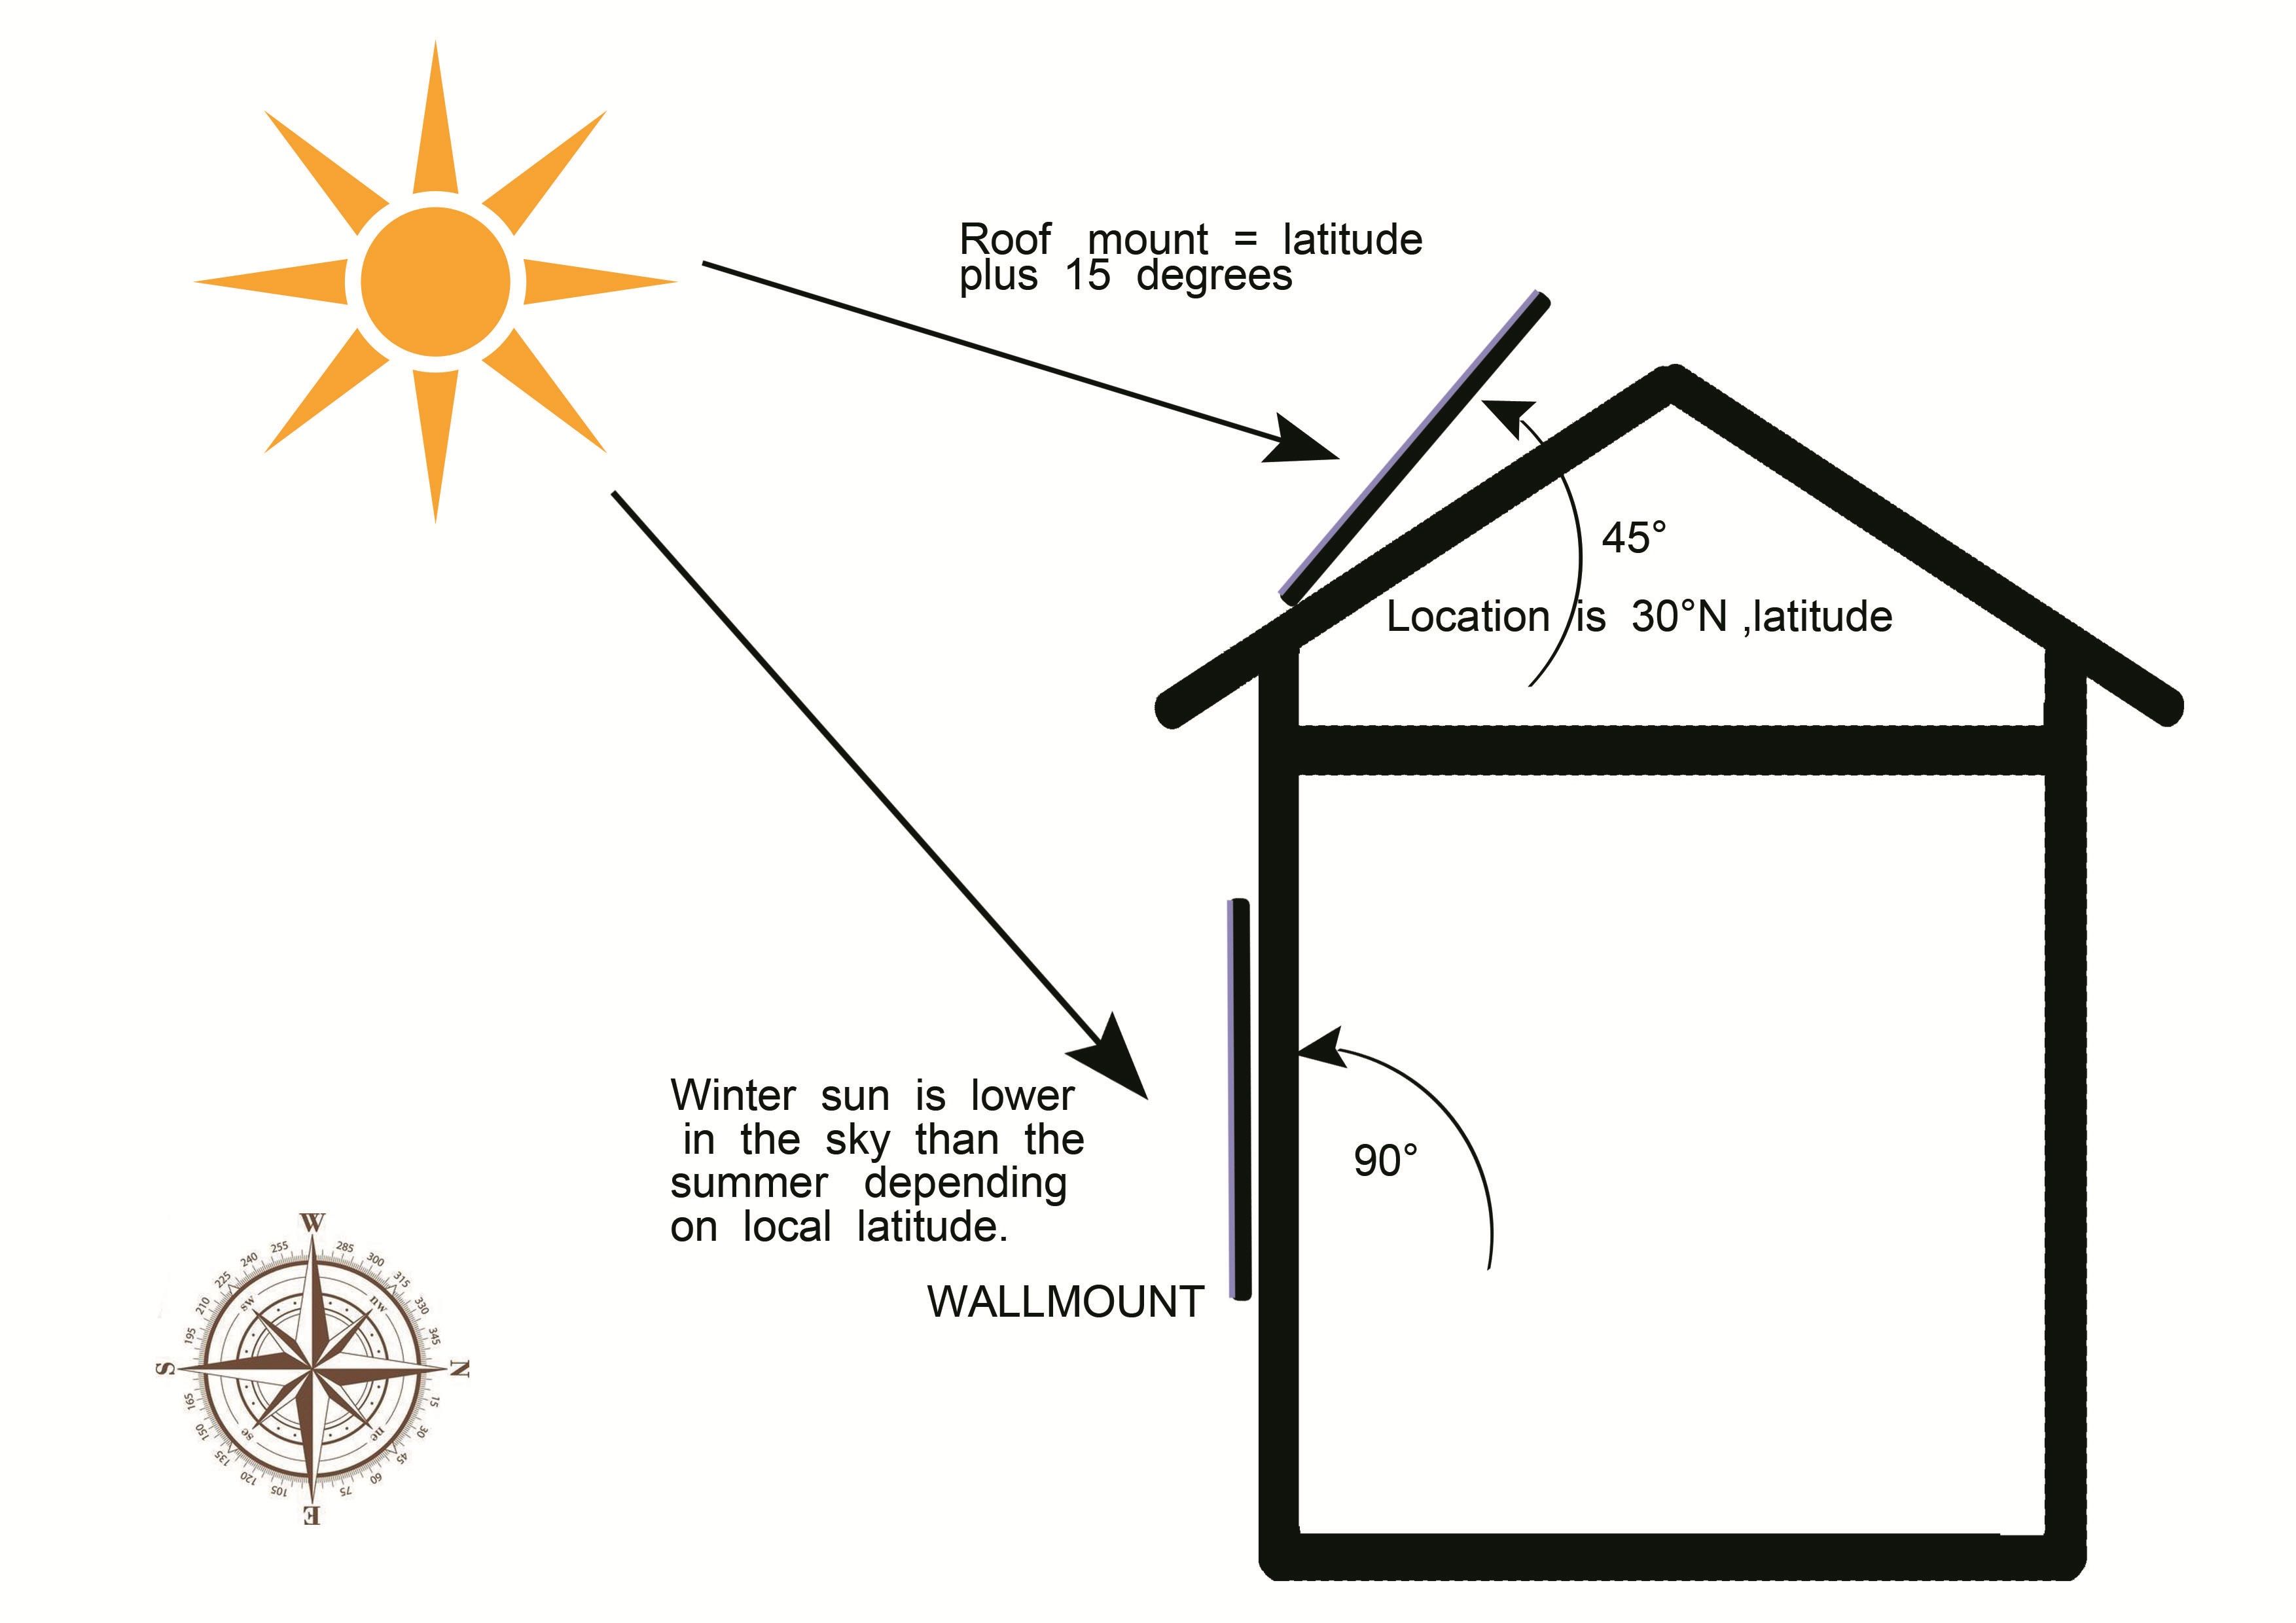
Find a suitable site where the solar panel will receive as much sunlight as possible, and where a hole can be made in the wall through which the supplied tubing can be passed. Note: When affixing the solar air heater, ensure that the inlets are at the bottom, so it can keep away from rain water and the PV panel faces up.
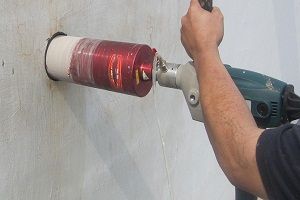
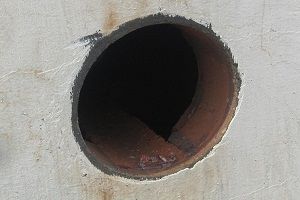
Use the pipe to mark the location on the wall and drill the wall with 108mm drilling bit.
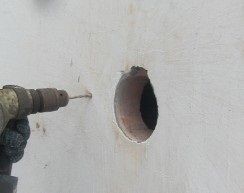
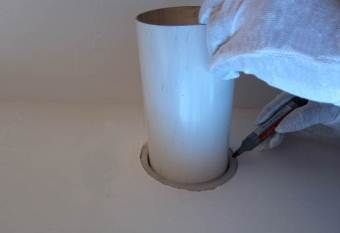
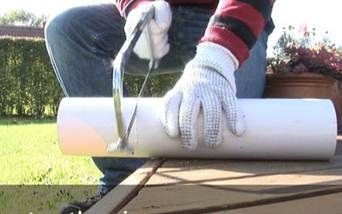
2. Mark where pipe is flush with the wall. Measure the thickness of the wall and then shorten the pipe.
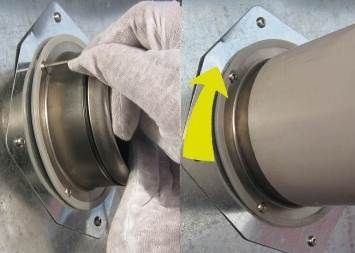
3. Assemble the flange and pipe. Fasten with the screws supplied. While assembling the pipe, rotating it and insert into the flange.
4. Mount the solar panel on the wall and put the pipe though the hole and go inside the room:
5. Fasten the panel on the wall.
6. Mount the inner diffuser.
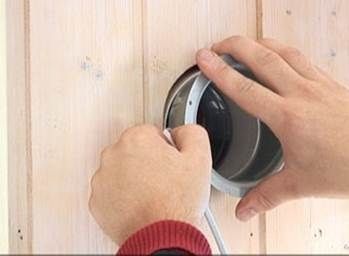
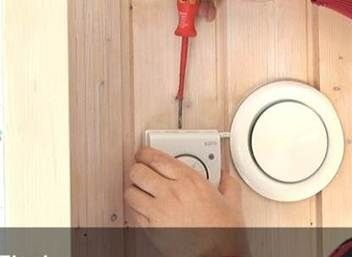
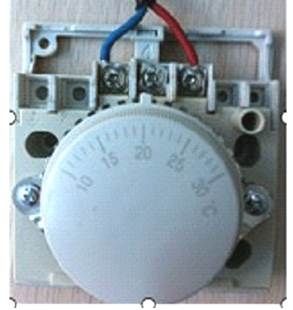
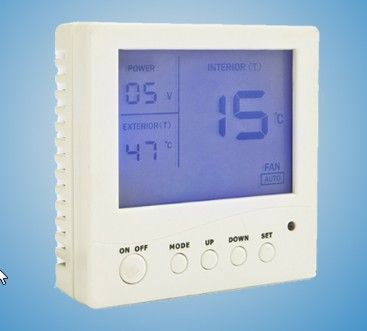
7. Mount the thermal regulator beside the diffuser, and then connect the wires to the thermal regulator.
If attaching to a wall drill 6mm diameter holes for the screws at the attachment points and place 6mm plastic expansion pipe in the holes.
Note: For mechanical regulator, please connect wire to Position 1 and Position 3. There is no distinction for negative or positive poles.
For LED regulator, please follow its instruction manual.
8. Fit the cover and adjust the air outlet with the diffuser.
